
 |
| Both dyed yarns being plied together! Gorgeous! |
All right, so after dizzing my wool into roving I at first was going to dye it then spin it. But before all that I forgot to add that I test dyed a batch of roving I made and all the softness and perfectness of the roving was a mess! I have to re-card to get the softness back. But, I wasn't sure if it was "me" that maybe messed up the dyeing process of that test batch, so I decided to be more careful about it in the next batch...
As I was getting things prepped to being the dyeing procedure, a light dawned on me... "Elisa" I told myself, "You don't know what you are doing. So why not ask people who have done this before!" Well, that seems smart! So I put down what I was doing (to the relief of my soft perfect roving) and went on my laptop to the most awesomest sight I know! Yes... "awesomest" is a word in the dictionary of "Elisa" established 2015.
I went to Home Steading Today , and there I asked the fiber arts people, should I dye before or after spinning? I explained my situation, and promptly I was blessed with wise responses! Pretty much they said, "Do not dye after you have carded and dizzed into a roving. Because all that work will just go to waste. Either dye after you washed the raw wool and before carding/combing. OR dye after you spun already carded/combed wool."
If unsure always ask!
I was more than happy to postpone the dyeing process, because I was itchin' to spin!
Because I want to spin for the spring/summer seasons coming up, I didn't want to spin bulky yarn of any sort, I really wanted to strive for fingering weight. So I needed to spin single lace weight so when they are 2 plied I can achieve fingering weight. How on earth could I achieve that? With this:
 |
| Rosie's Precise Spinning Control Card |
This helped me keep consistent on how thin or thick I want to spin my yarn. At this point in time i'm not looking to spin "Art" yarn, but consistency in texture and looks! This card is something I believe every spinner should have on them, next to them, in a place you can grab because you will use it!
 |
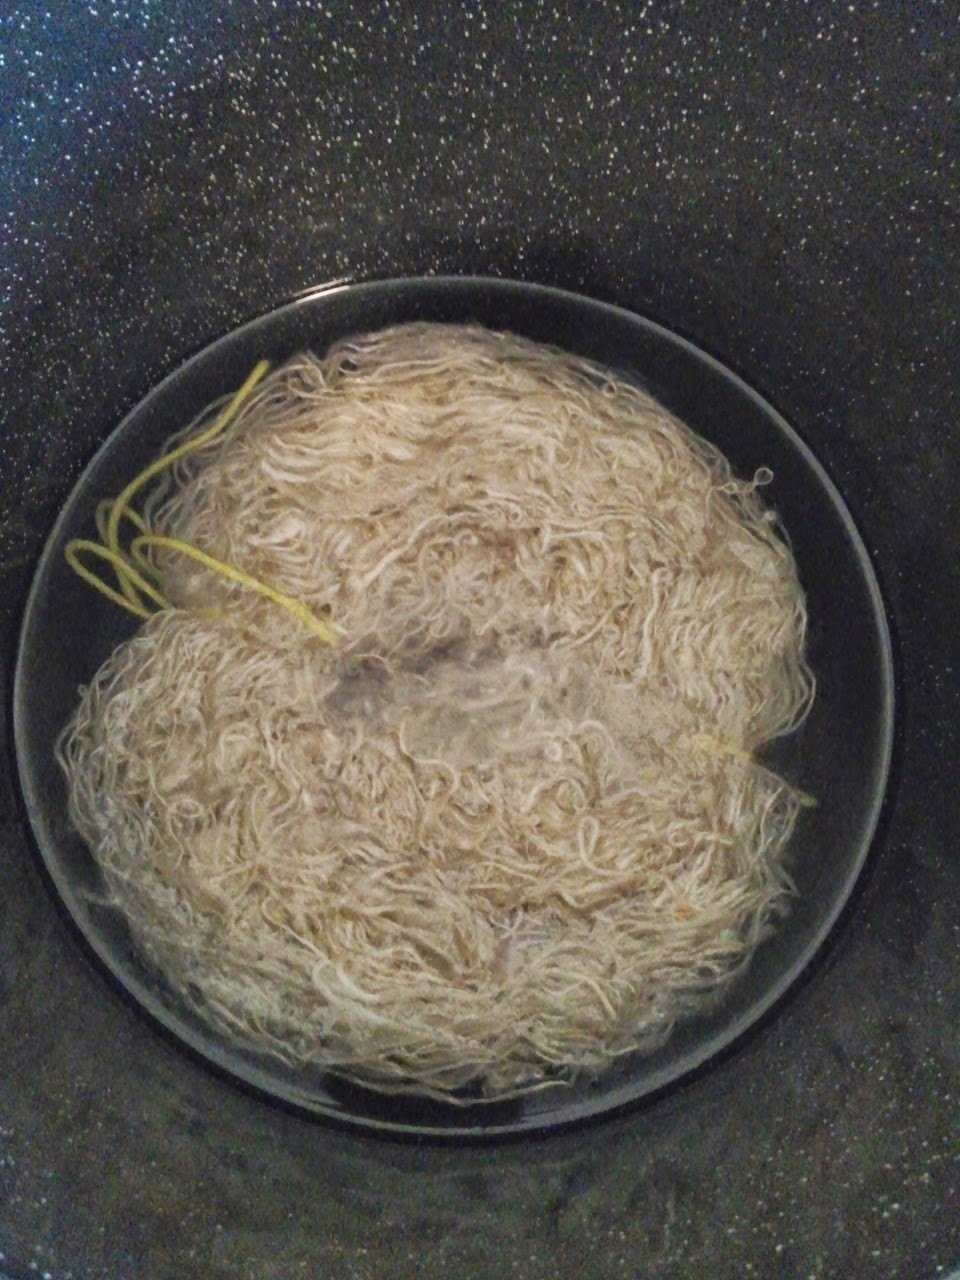
| Lace weight singles |
After spinning an awesome amount I got to experience first hand what alpaca/tunic processed all the way by hand feels like spun... it is so extremely soft and springy, meaning quite a lot of elasticity and strength at the same time!
 |
| In it's natural color |
After I spun, I got the dyes ready. I wanted to mimic something natural. I love taking photography, so I remember seeing this gorgeous birds nest and some moss lying around the ground and those colors just popped in my mind and I had the dyes to try and mimic those same colors!
 |
| Photo I took that inspired me. |
So when I dyed the first batch of single yarn, I didn't keep it in the water soaking the dyes for very long. I didn't want it "vivid" but mossy/bird nest like color:


I left it to dry, and began to spin my second bobbin. This time I left it to simmer longer in the dye to give it a stronger green. Here is what I used to dye my yarn:

Before I dye the yarn, I let it soak for up to 2 hours. If I was dyeing roving it would be much shorter than that, but because I spun it, I need to make sure all air bubbles are out so that my fiber is completely soaked so that the dye can penetrate and no "white" spottings anywhere, that's not what i'm going for.
 |
| Left to soak for up to 2 hours) |
 |
| Less is more when adding dyes! First add vinegar then dye away! |
Once the water was simmering, the dyes began to go to work, I let it set for about 15 minutes, making sure the water did not boil (if it boils for too long, your fiber WILL felt. ).
I made sure the water was "clear", meaning that when I poked my dyeing spoon in there I could actually see it in the water. That means the dye is stuck to the wool.
Carefully I took out the yarn and with warm water (I didn't use cold water, because drastic change of temperatures from extremely hot to cold will also felt it) and gently squeezed out the water and let it dry.

After making sure the yarn was COMPLETELY dry, I went to work! Plying! It is soooooo much fun, if you know what you are doing. If you don't, you may catch yourself in a tangled mess or bumpy yarn when you really want it smooth! The colors came out very lovely and rustic and a natural that pleases me immensely!
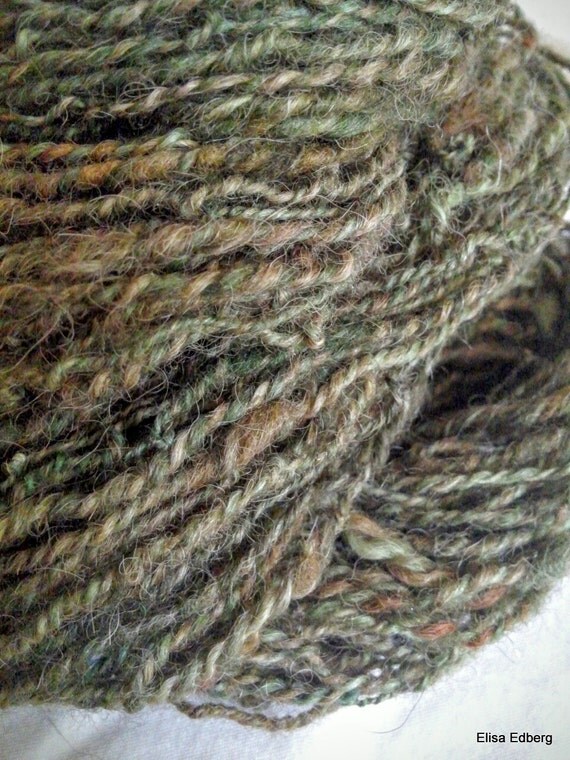 |
| Mossy Nest ( 60 yards ) click to be redirected to my Etsy Shop |
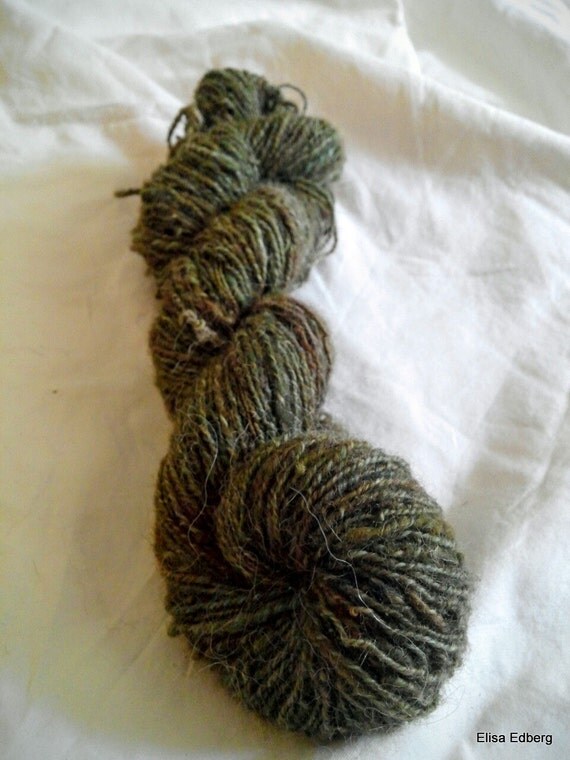 |
| Mossy Nest (80 yards) click to be redirected to my Etsy Shop |
No comments:
Post a Comment